It’s not uncommon to base an entire design on a single logo or image, and in particular its colors. InDesign makes it very easy to get the colors you’ll need into your design with the Color Theme Tool.
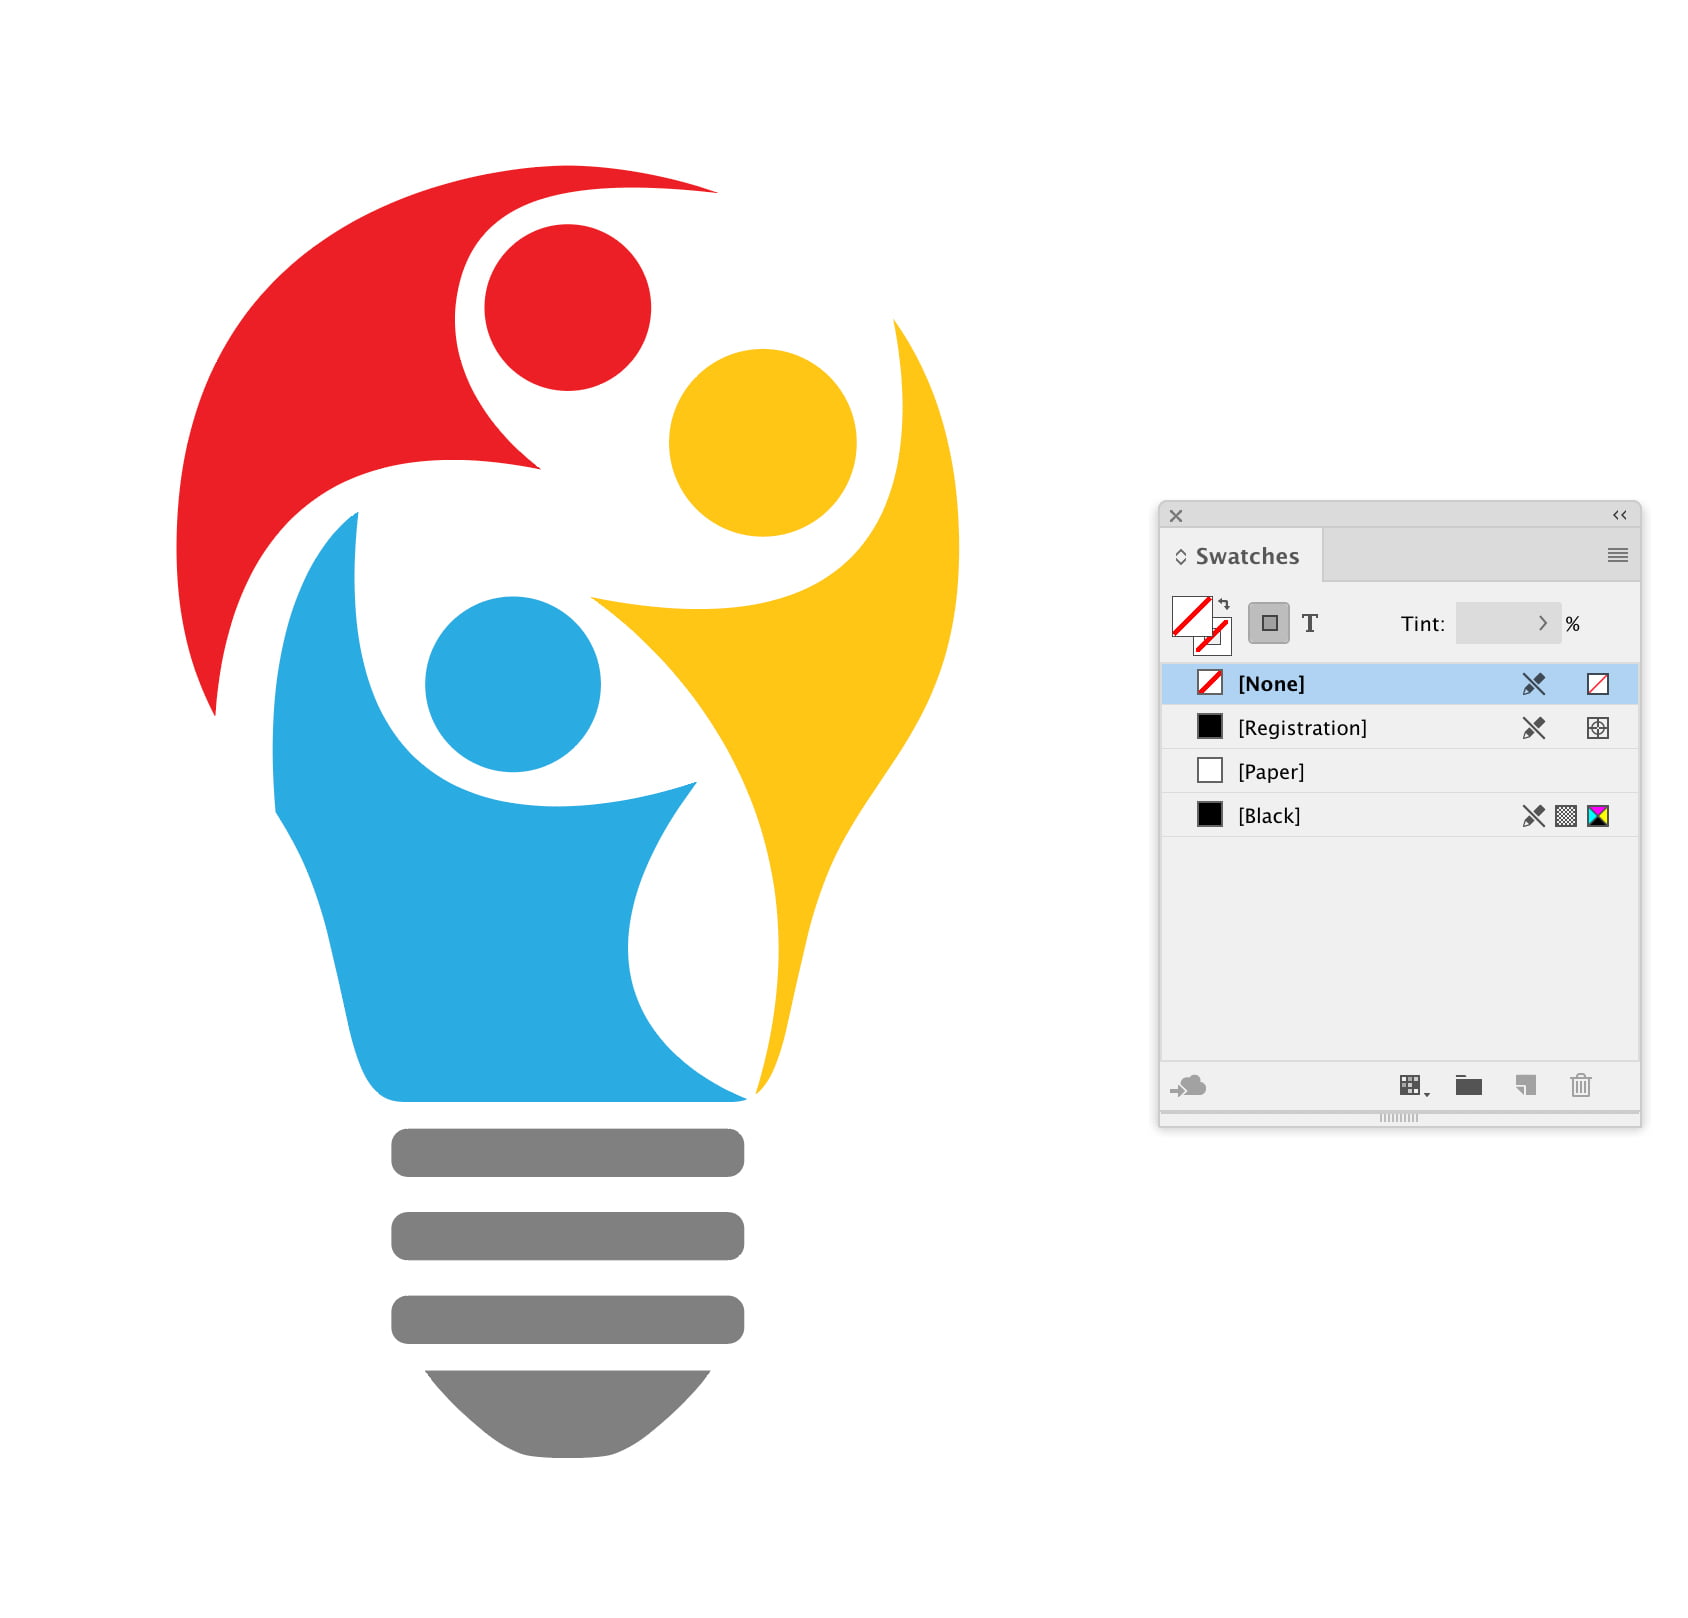
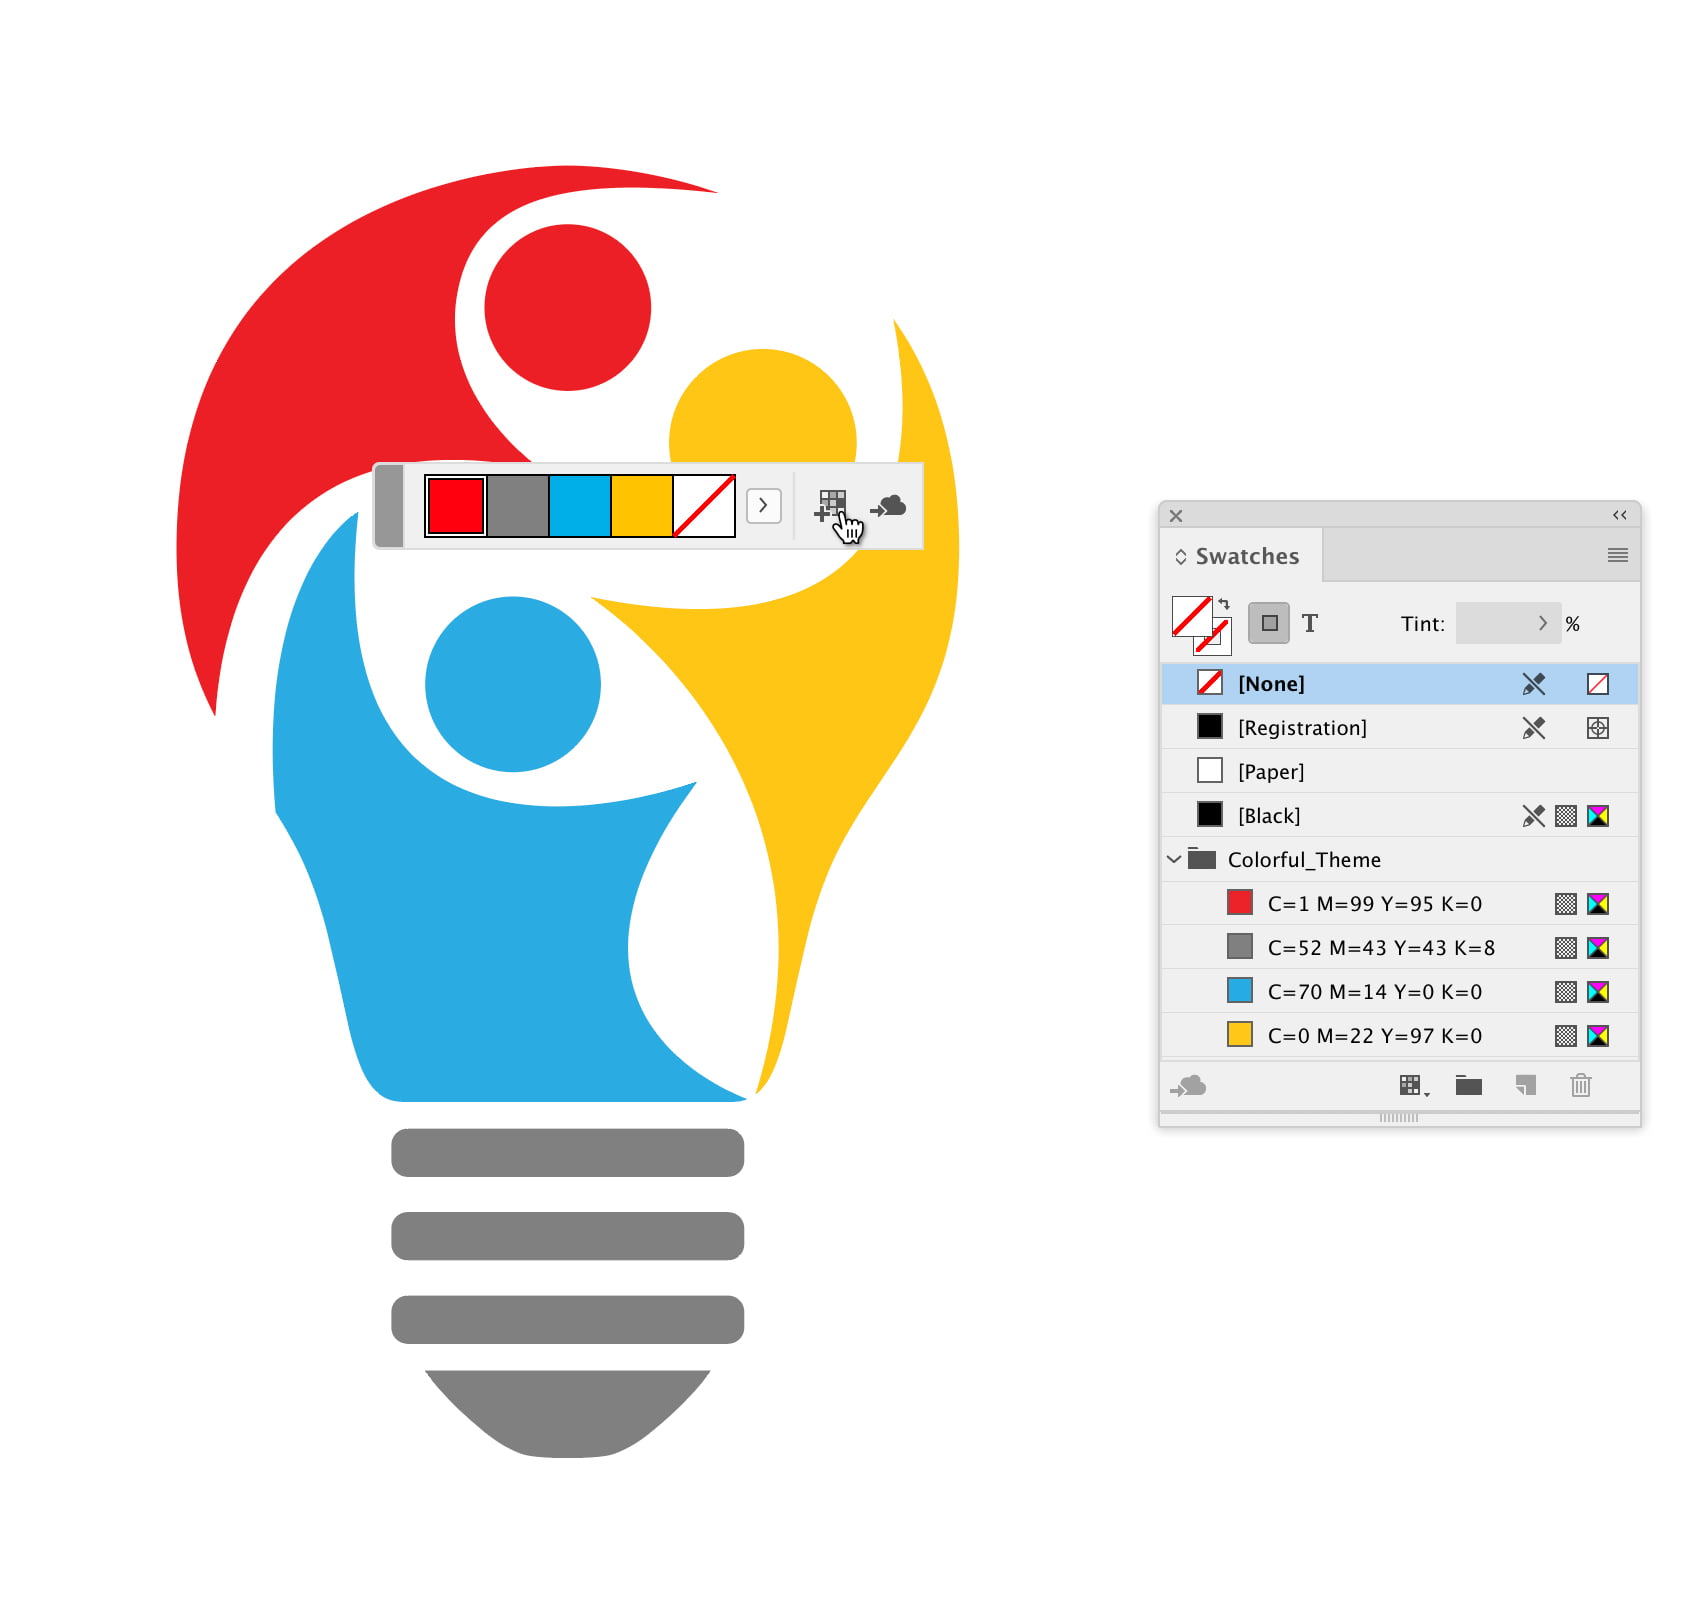
Let’s start with a logo example. The first step is to bring it into your InDesign file:
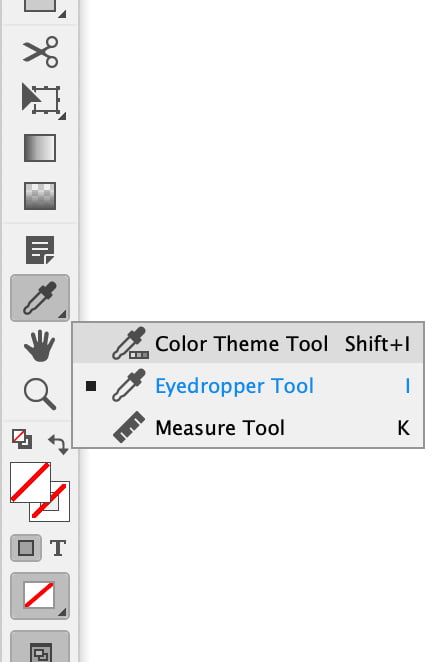
Next, select the Color Theme Tool from your toolbar. It looks like the eyedropper tool, but with a row of little squares indicating a range of colors:
If all you see is the Eyedropper Tool, click and hold on it to reveal the available tool options, including the Color Theme Tool. Select that here:
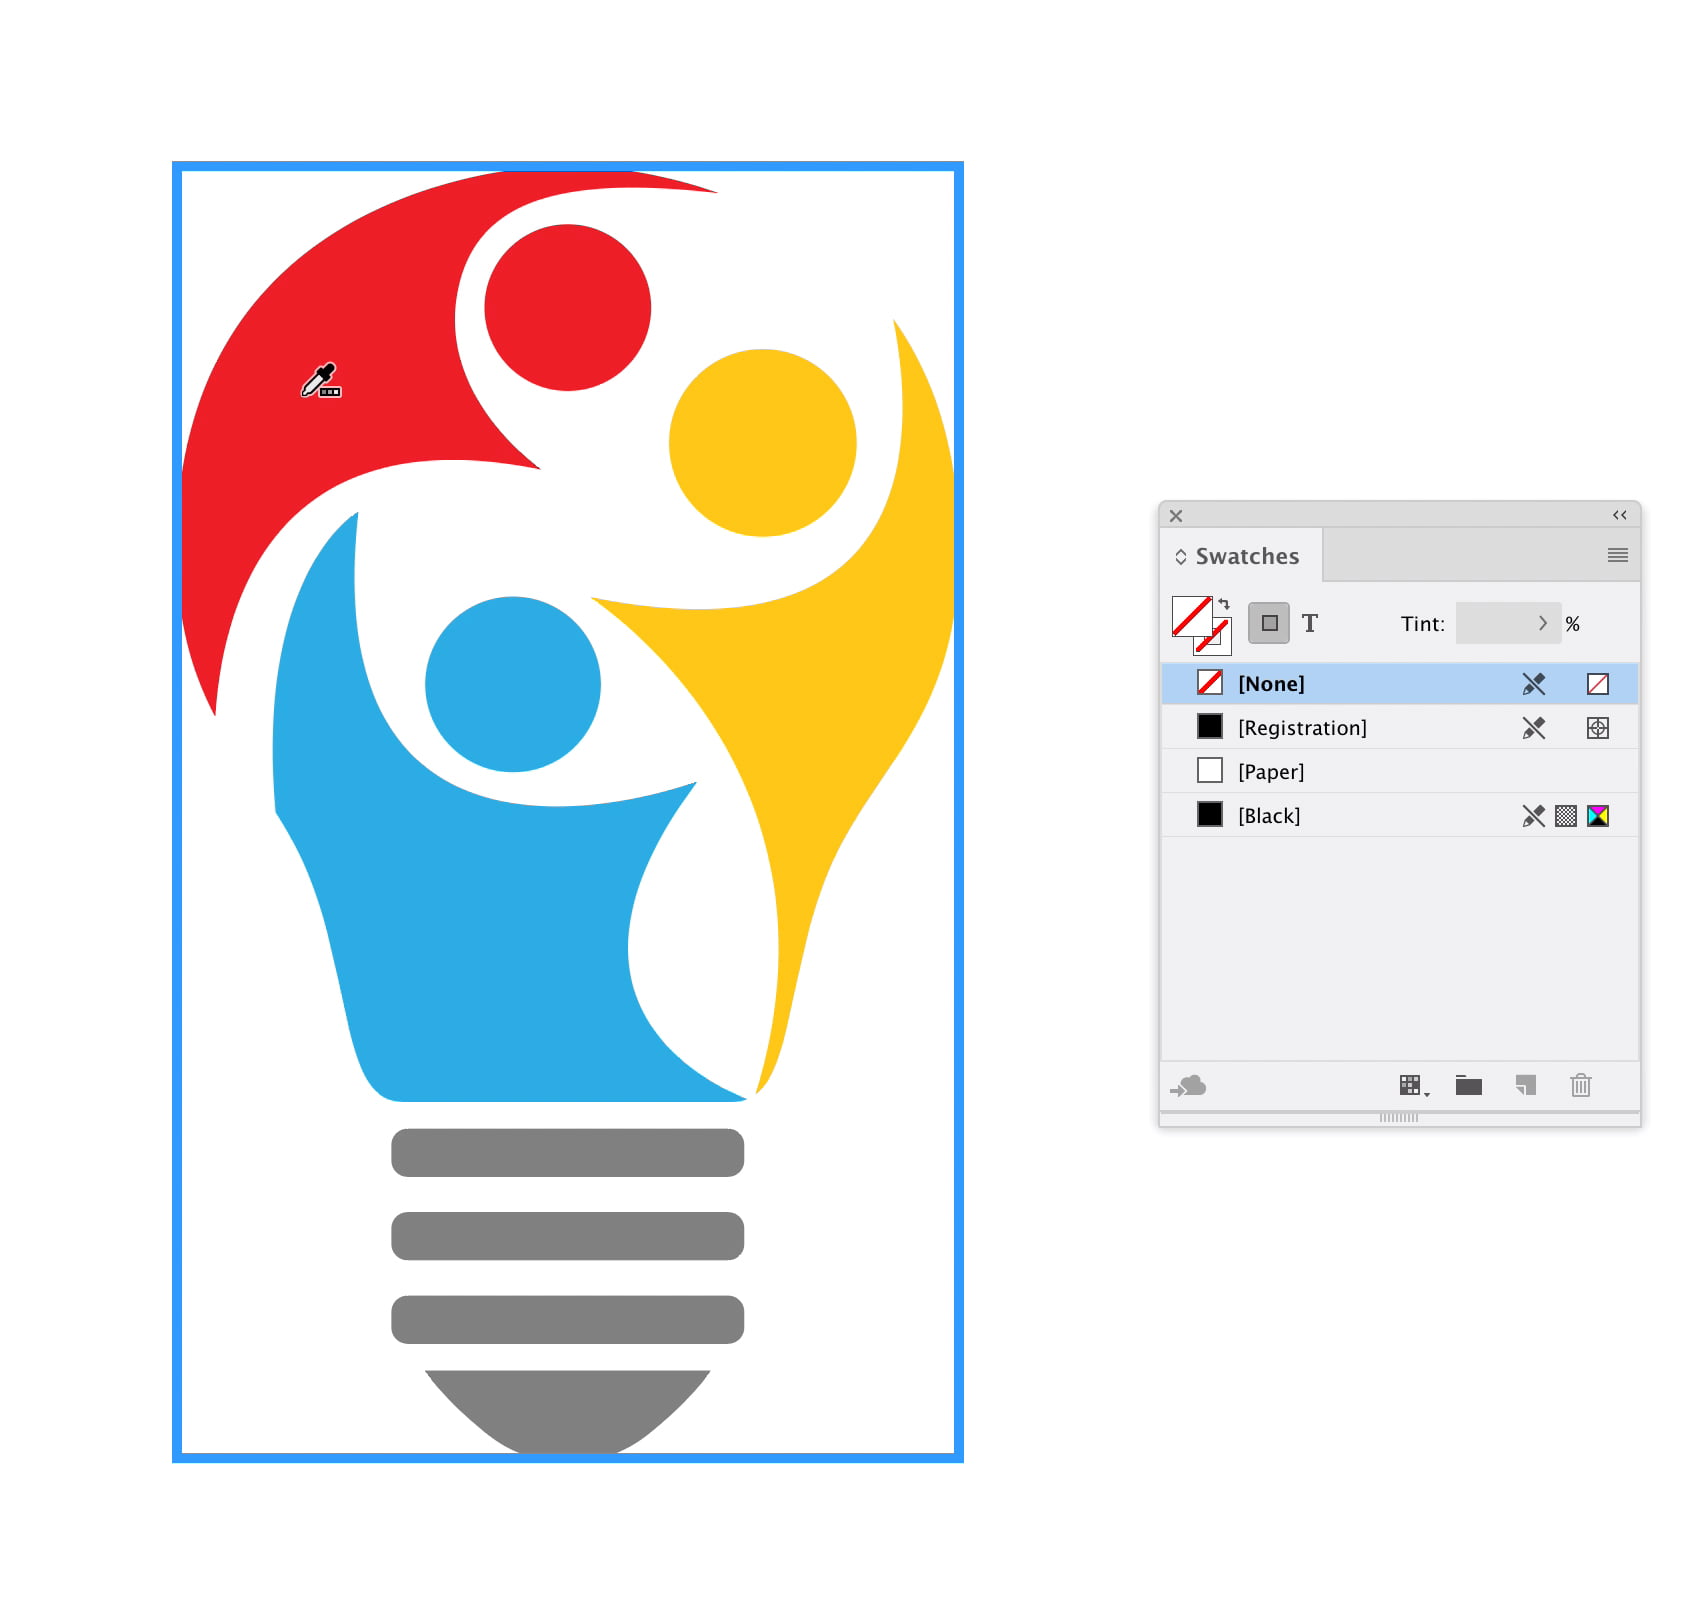
Now that you’ve selected the correct tool, just hover over the object from which you’re looking to grab the colors. To indicate you’re over the preferred target, a thick border will appear:
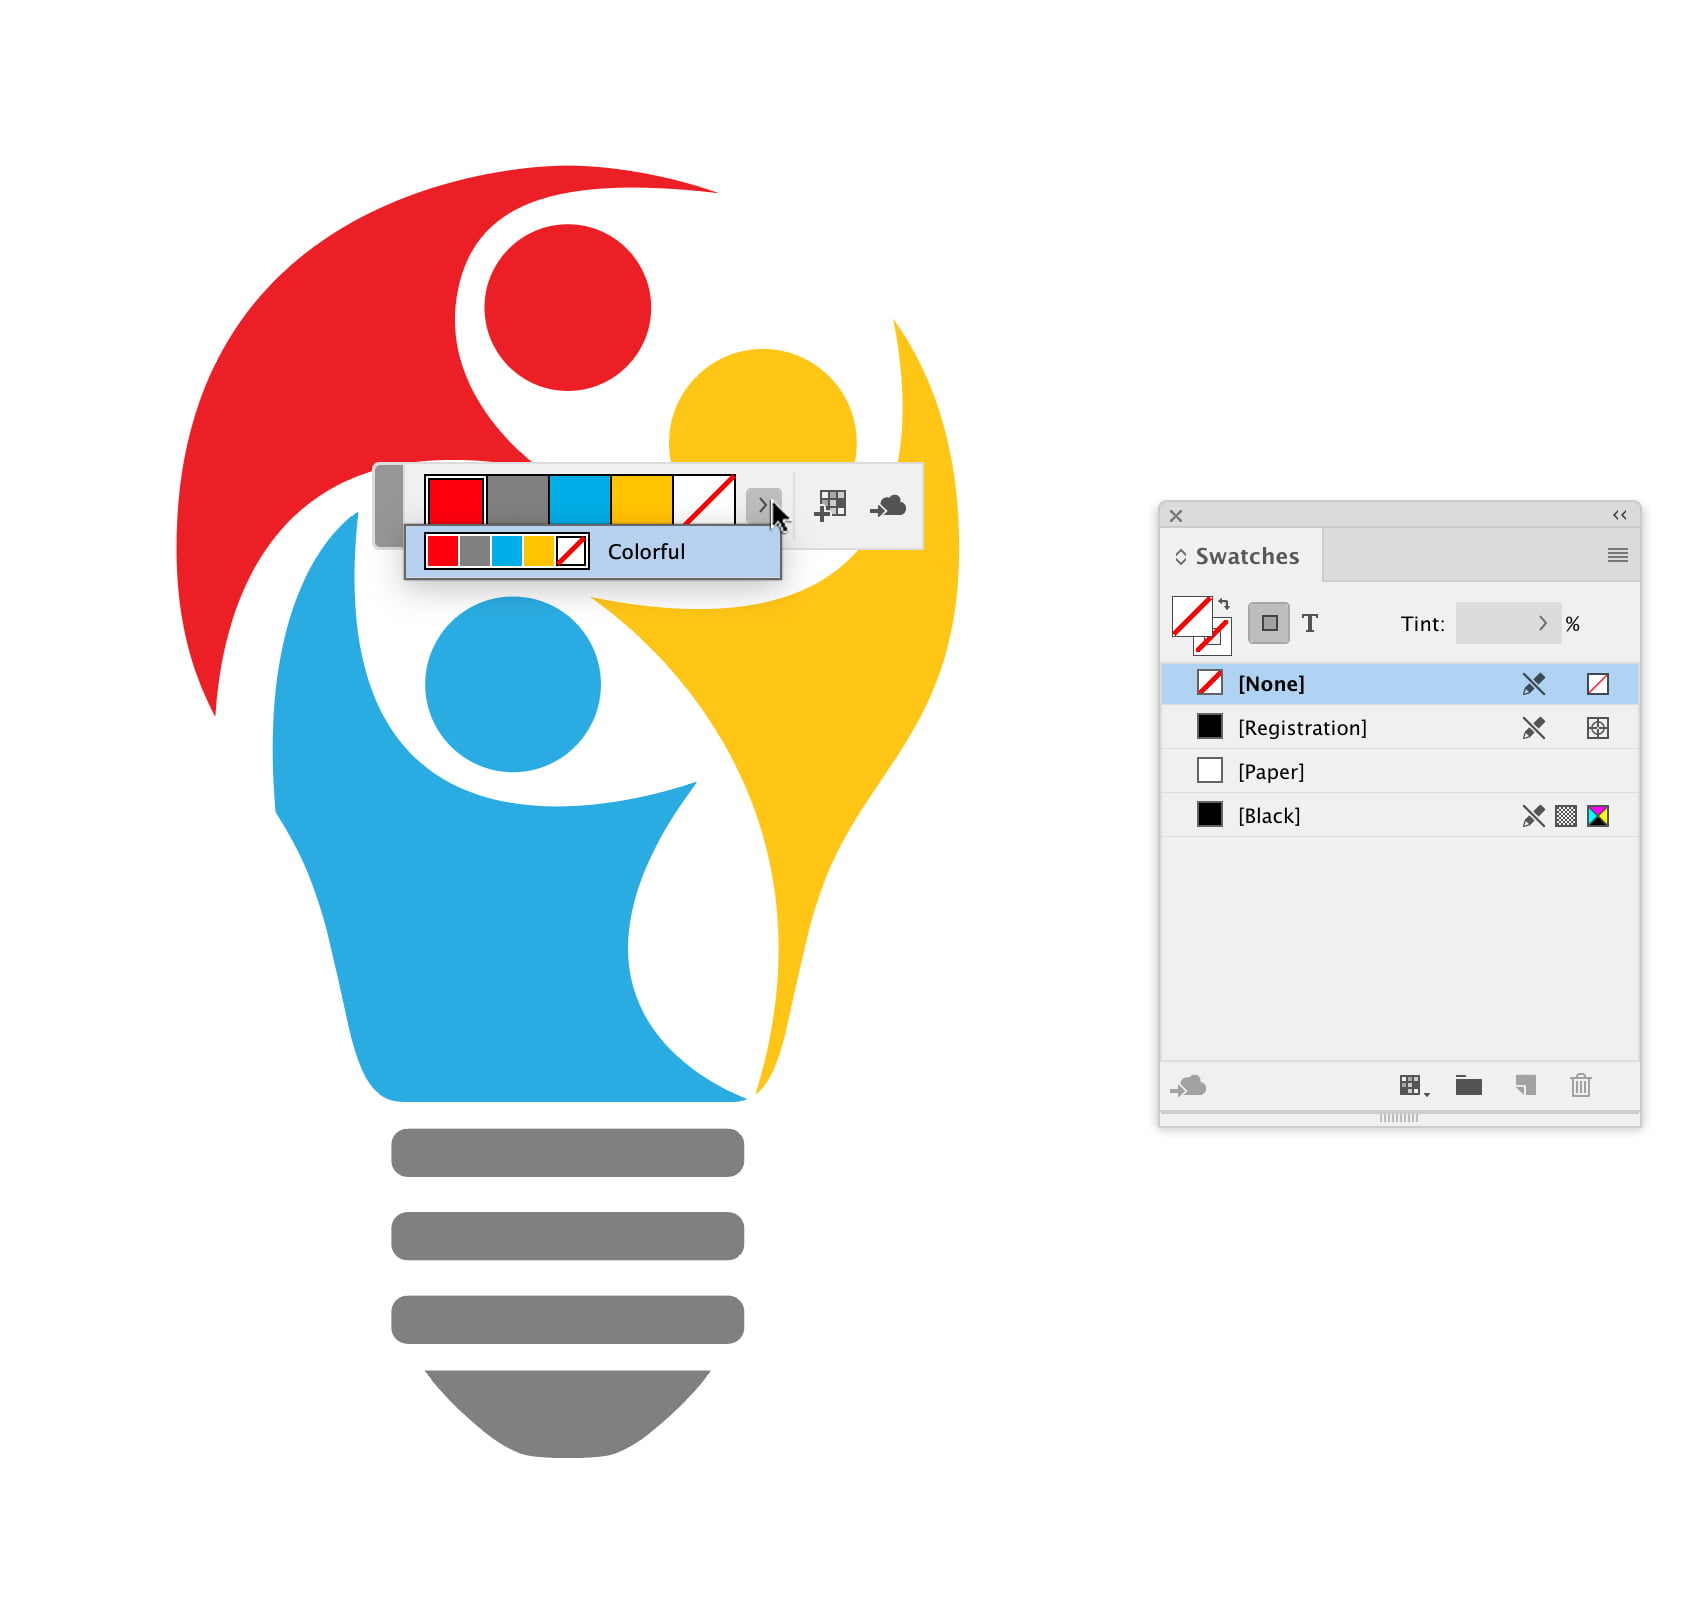
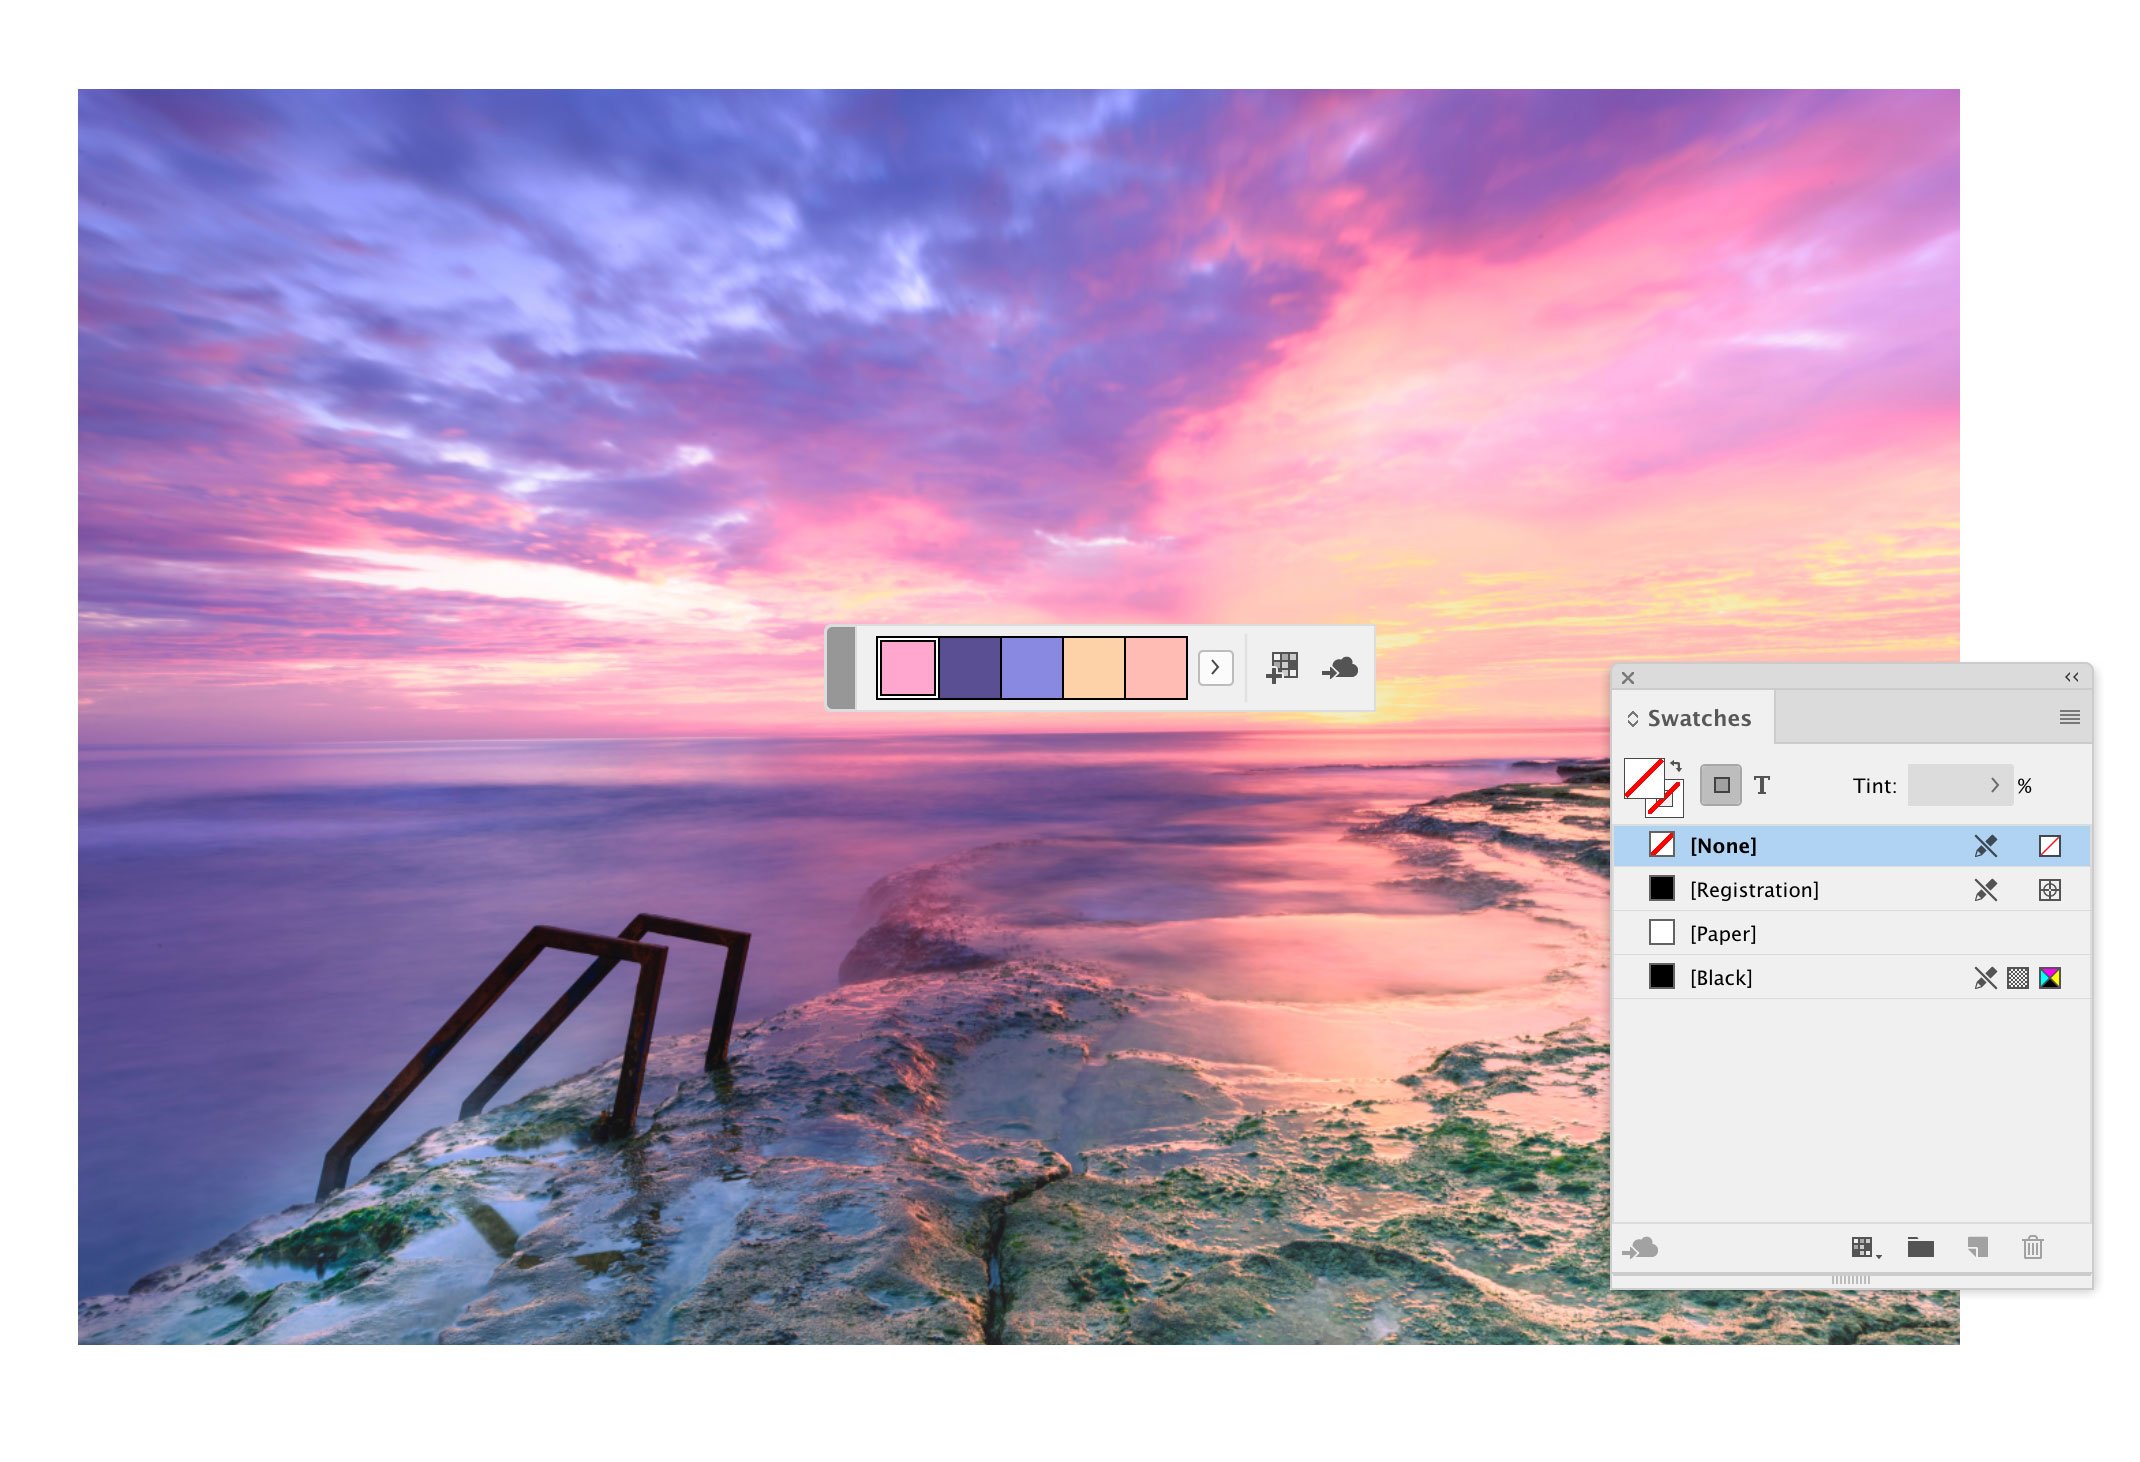
Click within that border and the color theme selector will appear, showing a set of up to five suggested colors:
You can click the little “>” button to the right of the color set to see a handful of theme choices – if available – in a drop-down menu. In this case, the logo is made up of four distinct, solid colors and the Color Theme Tool offers just one set. It accurately names this one “Colorful.” Select it from the drop-down:
And finally, click the “Add theme to swatches” button and InDesign creates a folder in your Swatches panel filled with the set you selected:
As I mentioned earlier, this tool can also be used with images. If you’re interested in creating a color theme based on a photo, follow the same steps as above:
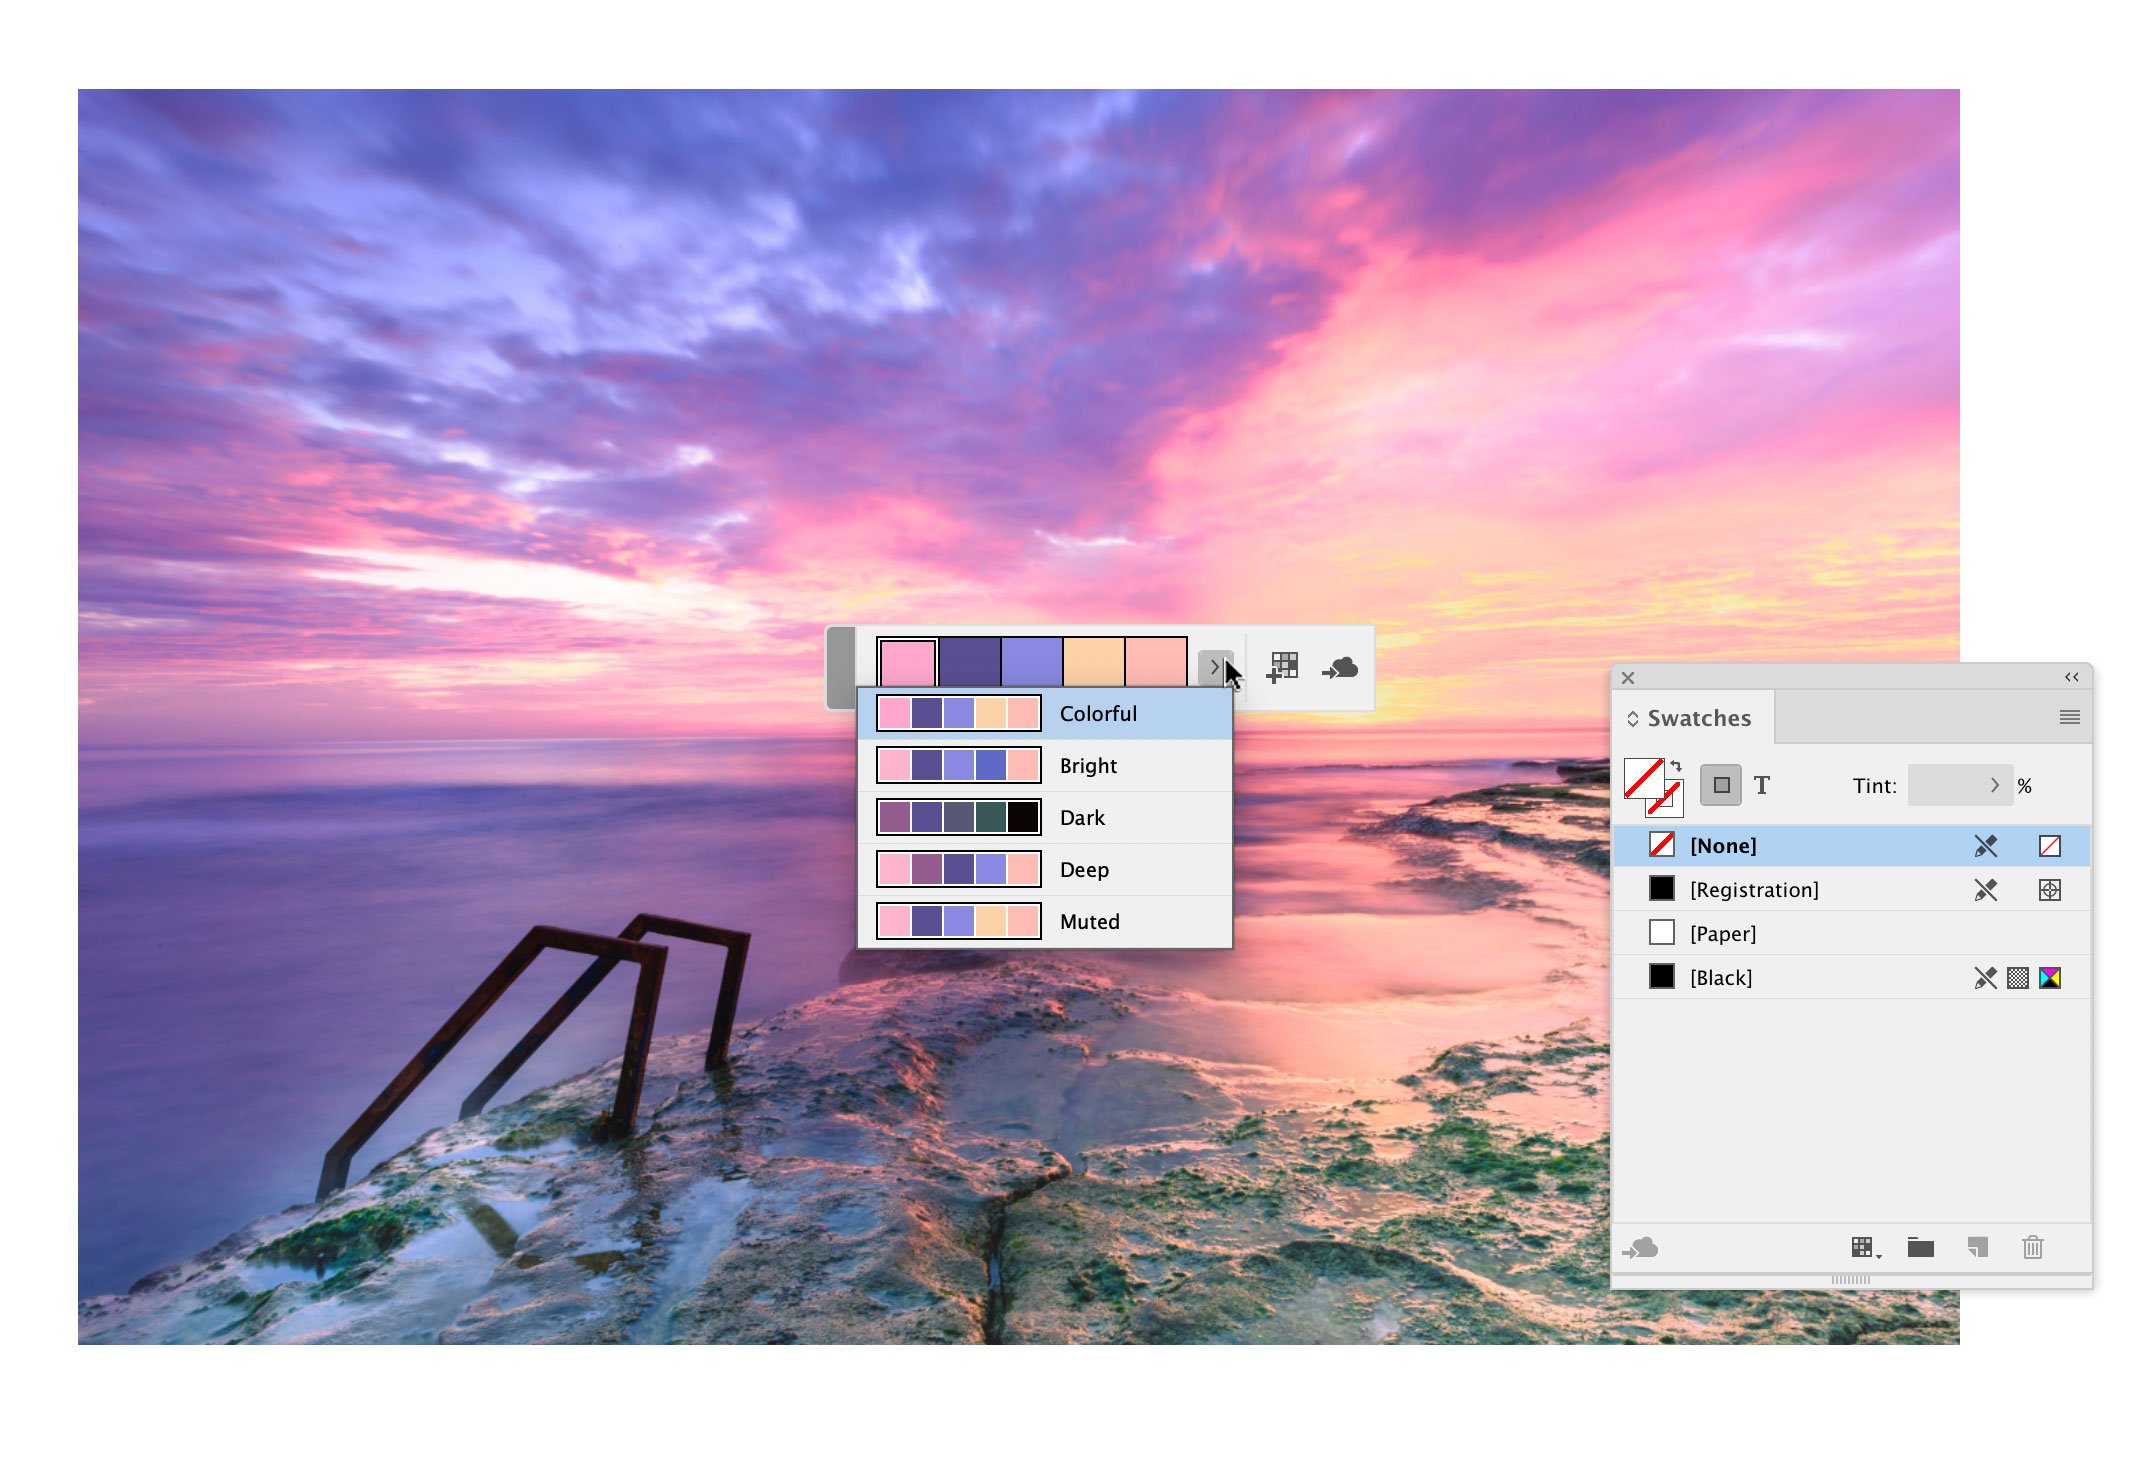
But in this situation, there are many more colors available than just four solids, so the drop-down offers a number of themes:
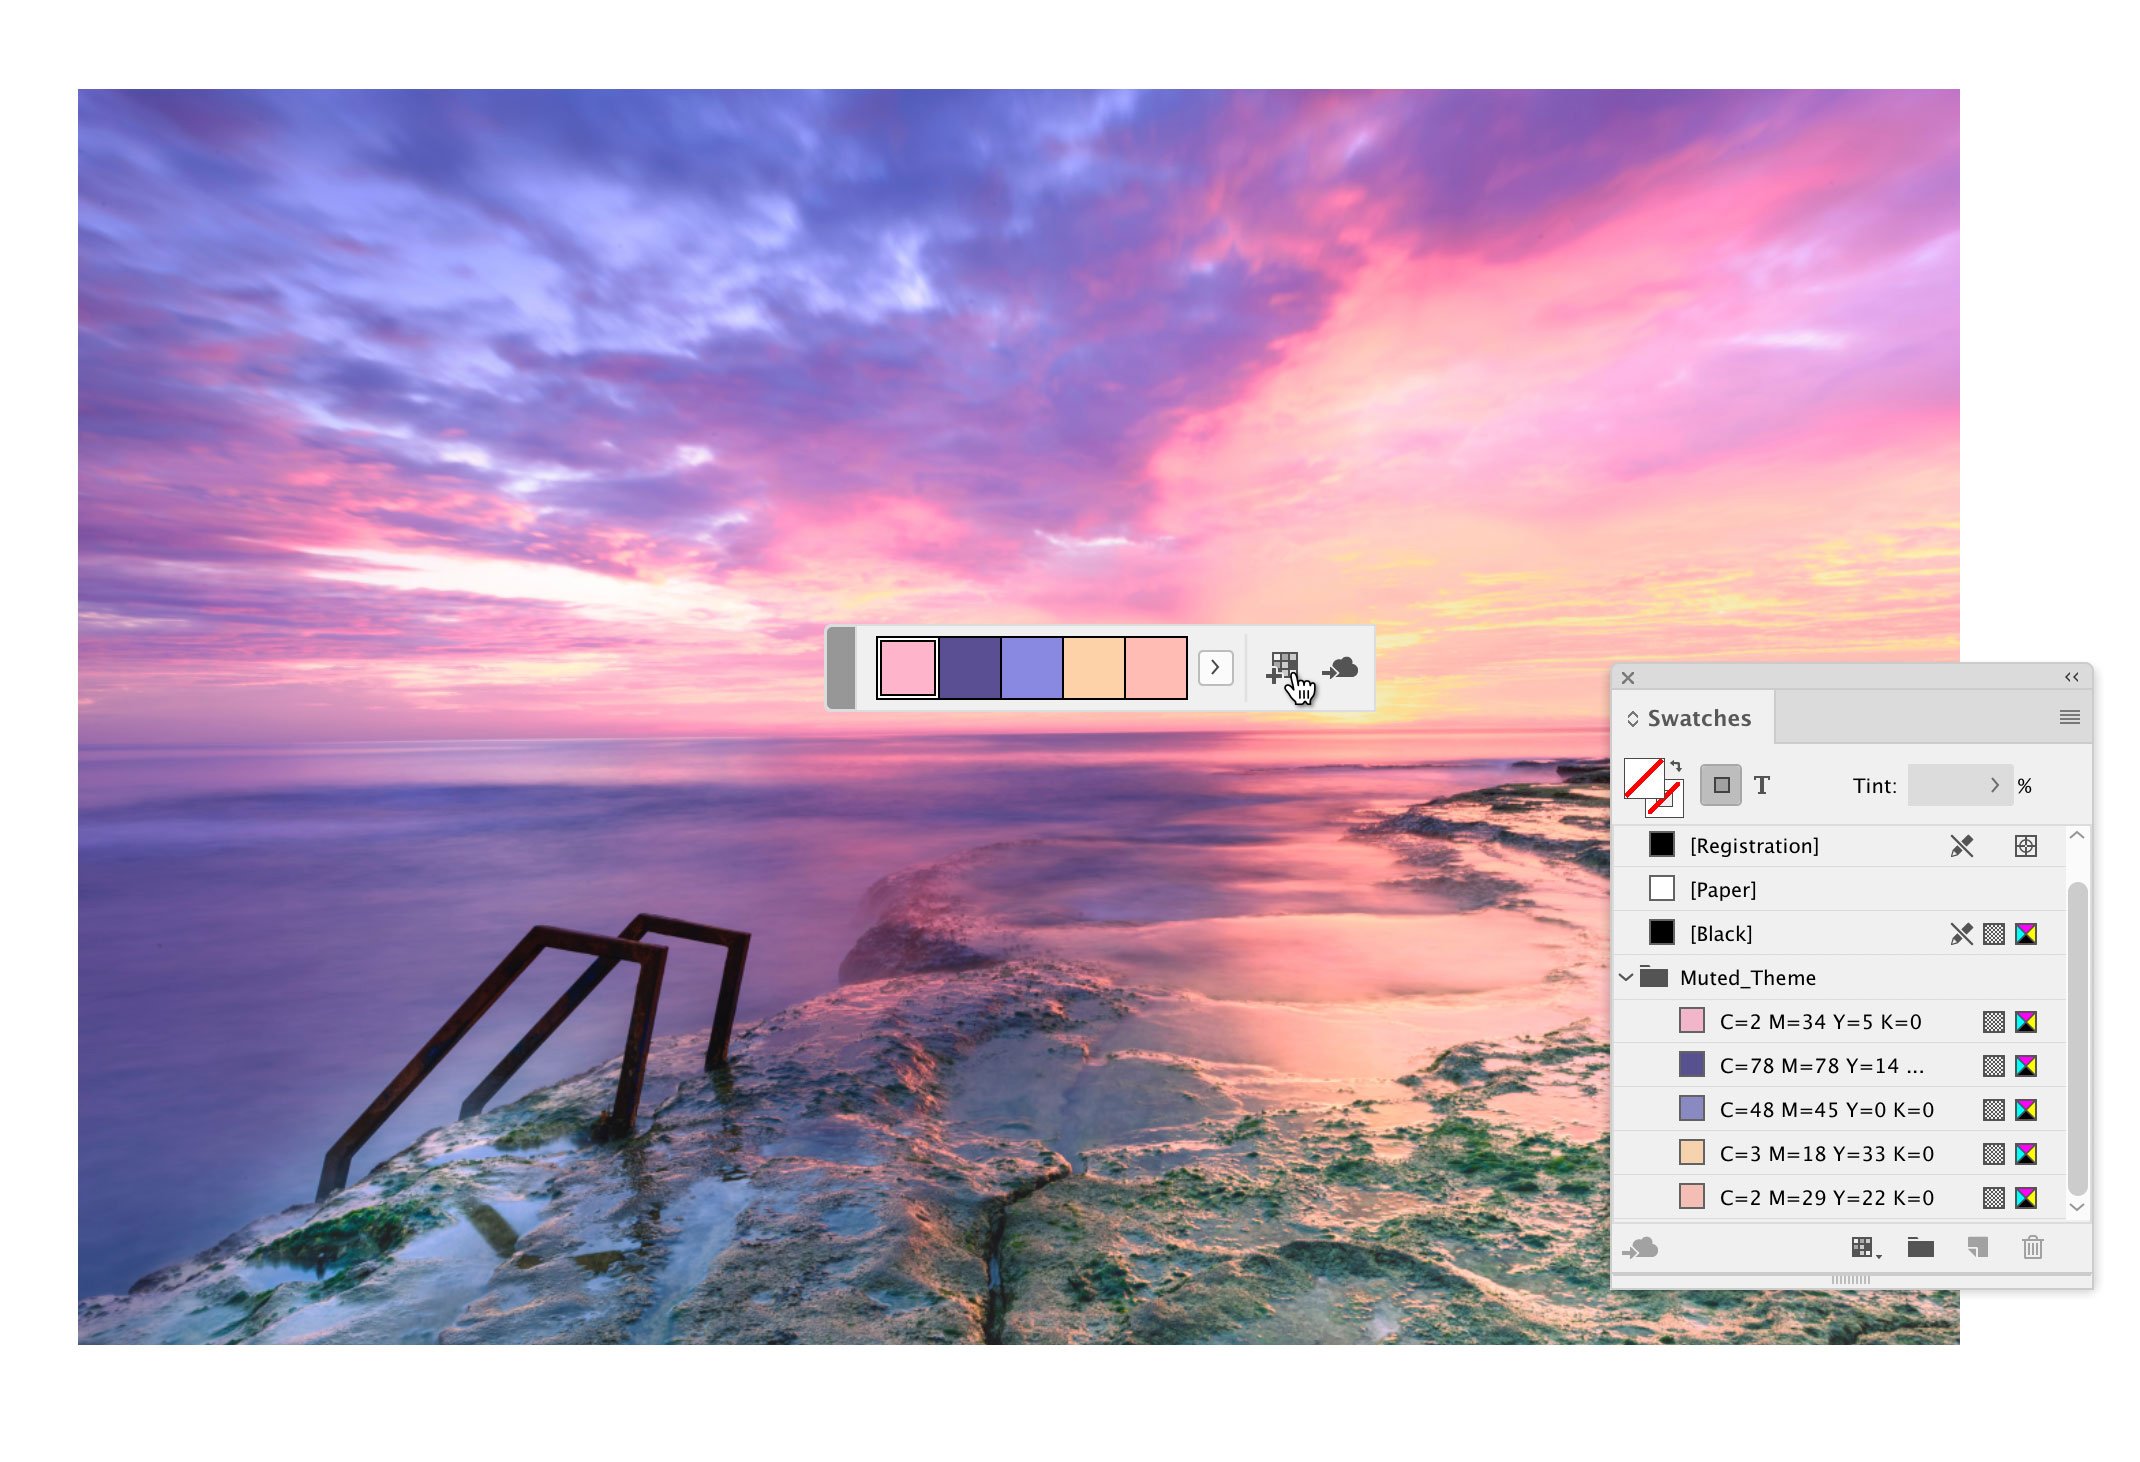
For this example, let’s select the “Muted” choice and click the “Add theme to swatches” button to get this:
You can fine-tune the colors that were added to the theme as needed, but this tool gives you a great start to your design.

