
Microsoft Word
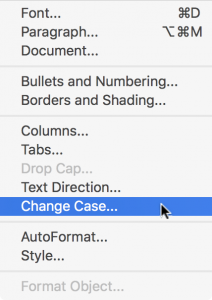
In the Format menu, look for the “Change Case…” command:
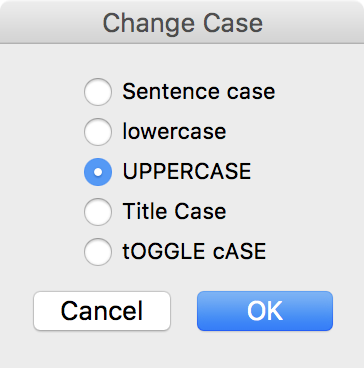
You’ll then be presented with a pop-up offering various case choices:
Microsoft PowerPoint
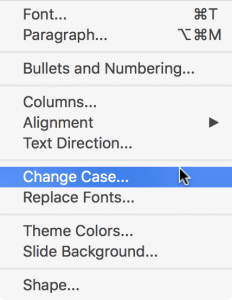
Like its big brother, Word, PowerPoint has a “Change Case…” command in the Format menu:
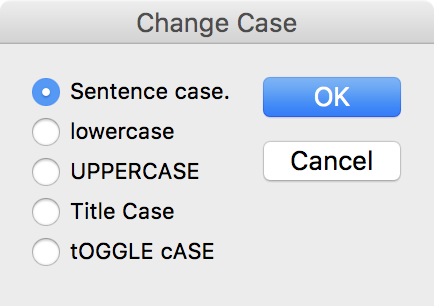
And it also brings up a similar pop-up:
Adobe InDesign
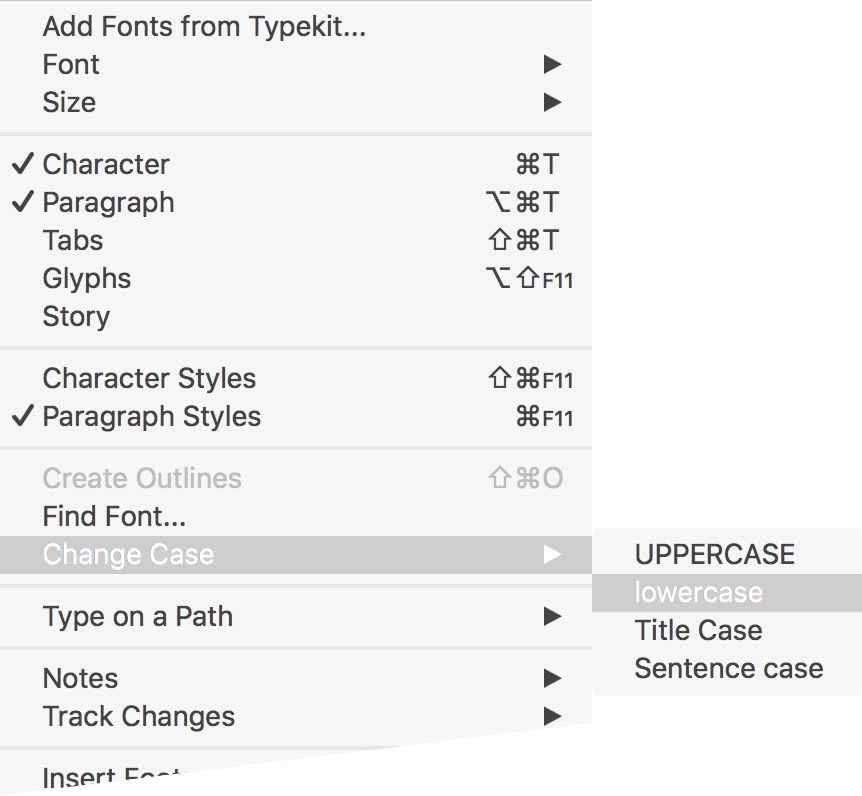
In InDesign, the Type menu contains the command “Change Case” and a fly-out sub-menu that allows you to pick the case change you need:
Adobe Illustrator
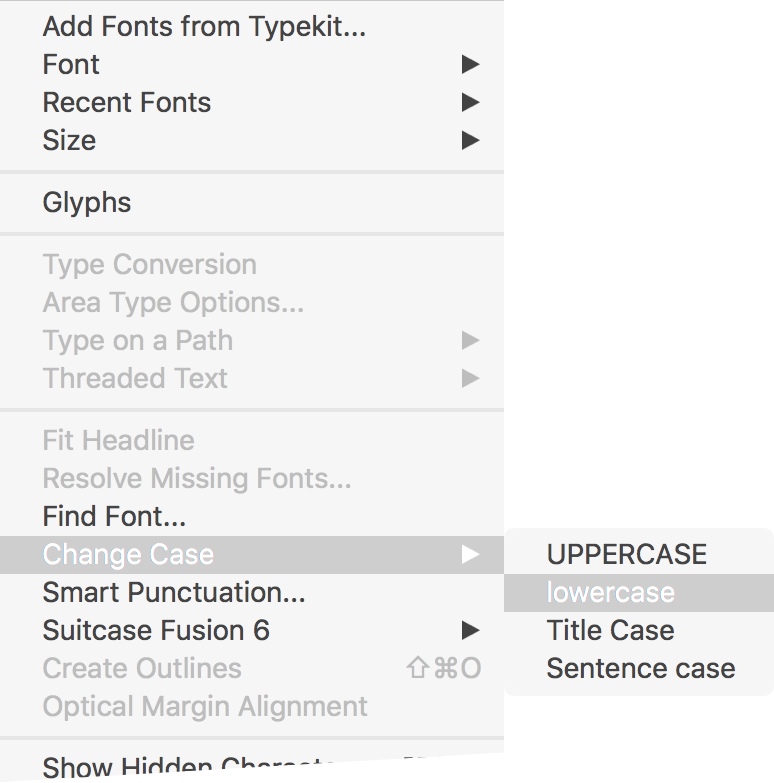
Illustrator, just like InDesign, has a fly-out menu from the “Change Case” command under the Type menu:
Adobe Photoshop
Photoshop is the black sheep of the case-converting world, unfortunately. It’s not that there aren’t a lot of options, it’s just that the options you do have access to aren’t as helpful as those shown in the four applications above. To be fair, though: Photoshop is an image manipulation program, not a page layout or word processing program, so I’m willing to give it some slack when it comes to changing character case.
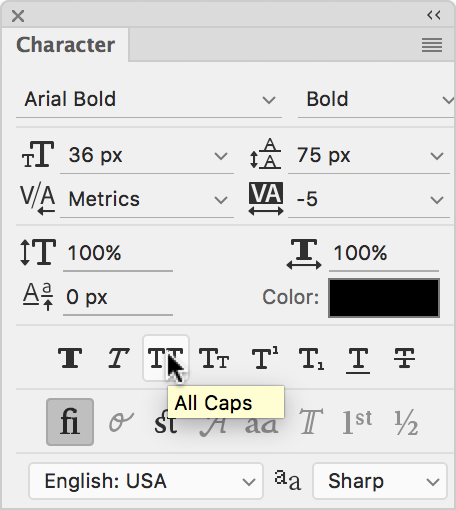
Anyway, look for the Character panel (if it’s not visible, choose the “Character” command under the Window menu.) You can either use the little set of “T” icons right there on the Character panel:
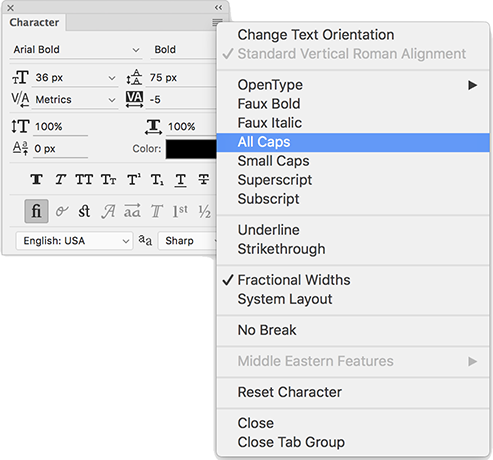
or the fly-out from the “hamburger menu” in the upper-right of the same panel:
In Photoshop, there’s no Title Case, Sentence case, or even lower case. The only equivalent is ALL CAPS.
If all else fails, or if you’re not using one of the five applications above, you could always copy your text into one of these (such as Word), make the conversion, and copy the text back out again. Or use one of the many online converter tools available.

